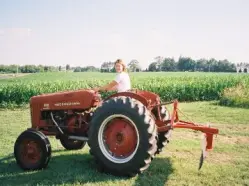
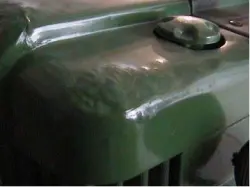
Tractor Restoration is the largest part of our business at Lee J. Sackett, Inc. It is how we got started. Although the business has grown and branched out beyond tractors, it is still a core part of what we do. We have restored literally hundreds of tractors of different vintages and brands. Over the years, we have refined our process to help ensure that each project is a success.
Vehicle Restoration
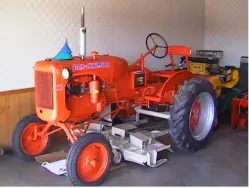
Although tractor restoration is the largest part of our business, we have almost always had at least one or more vehicles in-process at the shop, too. We have restored dozens of vehicles of varying vintages and brands. We have restored vehicles as old as 1912 through the 1980’s. We have also worked on newer vehicles, and as they become collectors as well, we expect demand to increase for restoration services on those as well. We continue to refine the vehicle restoration process with each project that comes through the shop. Continuous improvement is an important value throughout our company.
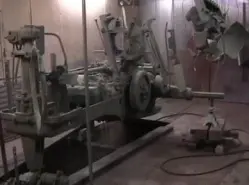
Our Process
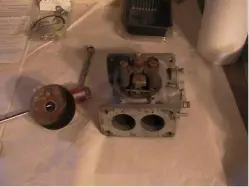
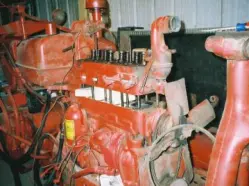
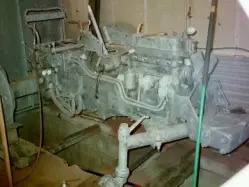
Our proven process involves several main steps. An explanation of each step is outlined below.